Lets Begin:
Open the gold texture, an image, your welcome to use the one included in the zip, minimize it for later use. If you haven't already, Get a free copy of Mura Meister filter's and place in your plugins file. Open the snow flakes psp image and place in your PSP tubes file.
Open a new image, 400x 400 pixels. Flood fill the background in your desired color. I suggest you do not use white.
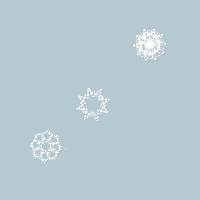
Add a new layer. Tools, Tubes, find the snow flakes. Decrease the size of the snowflakes to 75. Add 3 snowflakes diagonally.
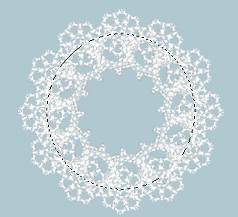
Effects, plugins, Mura Meister's filter Copies. Find the setting Encircle, click ok. Tools, selection, set to antialias 1, feather 0, selection type: ellipse. Find the center of your main snow cluster. I suggest 200 x 200. Draw a circle circling your main snow cluster. Selections, invert. Hit your delete key.

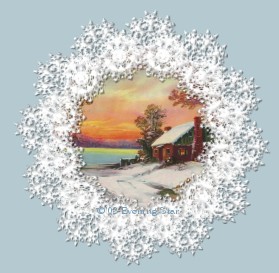
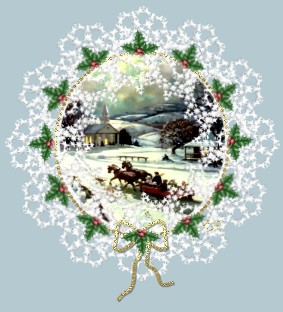
Notice, no two frames are alike. It depends on where you place the snow flakes, and which style you have used in your placement. This frame could also be used as lace.
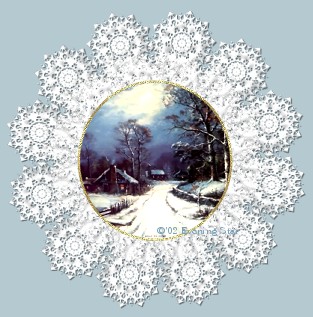
Now decide where you would like to add your image. You can add it on top, as above, or below the lace as follows.
To add your image find the center of your cluster of snow using the selection tool same settings, except this time feather by 1. Draw a circle going to the edge of the inside of your cluster ending at an area where the cluster is deep. Here is what I did:
Then copy your image your going to use. Go back to your working copy. Now if your placing the image below the flake, add a new layer just above the background layer and below your cluster. If your adding the image ontop, add the layer above the cluster layer. Now Edit, copy paste into selection.
If you add it below, there is no need to add the gold, if you add it on top, you will probably like to frame the image. If your adding the gold, set the gold as a pattern, angle 0, size 100%. Create the pattern as your foreground. Get your presets shapes tool, antialias checked, vector checked, retain style unchecked. Line width 3. Line style, I used solid, but could see other line types used. Draw a circle around your image, edging your gold ellipse around the edge of your image. You can add a bow.
One last Note: To add the holly, its included in your zip, open it. Create a new image, same settings as last. Add the holly to your tubes. Resize your tube to 31. Paste it on the new canvas at the point 214,237. Image flip it and move it back to this position. Effects, plugins, Mura Meister. Encircle. Edit copy, and then go to the image you created and edit paste it as a new layer. If needed, take your deformation tool and size your holly surrounding your image or gold frame.
Merge all layers flatten. You can then add a square frame around this if you so desire. Your done!
Home
Mail
|
 Graphics By Evening Star
I create graphics and tutorials for the pure enjoyment of designing and making graphics, tutorials and background sets. All of the work you view was created soley by Evening Star and staff.
The Set and tutorial I use may not be downloaded for any purpose This Set and tutorial
may NOT be copied in part or whole. It is registered to Graphics By Evening Star.
This Page was created entirely by Evening Star and staff.
©Monday, December 02, 2002

All Rights Reserved.
|